
Firewall
Your cluster uses FortiGate, Fortinet’s Next-Generation Firewall (NGFW) to provide network protection and remote access services.
As part of the cluster deployment, Lambda provisions SSL VPN access to allow for initial customer onboarding. Normally, Lambda creates a single local user account with full cluster access that can be used by the customer to manage the firewall and add more accounts as necessary. Additionally, the customer should expect to see at least one and potentially more VPN accounts that belong to Lambda and were used for cluster provisioning - these accounts should be either disabled or deleted from the firewall immediately after onboarding. If the customer requires Lambda’s support in the future, it may be necessary to re-enable one or more of the disabled accounts or add new ones to provide Lambda’s support team with remote access to the environment.
By default, your firewall is deployed in High Availability (HA) mode with the following rules:
| Direction | Default behavior |
|---|---|
| Ingress | Block, unless it’s an SSL VPN connection |
| Egress | Allow all traffic going out to Internet |
FortiGate firewalls offering comes with basic remote access SSL VPN capabilities that include both clientless (web portal) and client-based options using Forticlient VPN client.
Even though the Cloud Cluster comes with the native Fortinet’s SSL VPN remote access pre-provisioned, it doesn’t mean the customer has to keep using it after initial onboarding is completed. There are many remote access options available that the customer might be more familiar with or like more than the rather basic native Forticlient. To list just a few alternatives:
- Using the provided firewalls
- Fortinet’s SD-WAN (makes sense if the customer already uses it thus allowing to quickly and easily onboard Cloud Cluster as an additional site within their existing SD-WAN environment)
- IPSec VPN between the FortiGate firewalls and the customer’s on-prem (or CSP) environment
- Deployed on head nodes inside the cluster
Setting up any of the listed and not listed options is a sole customer responsibility.
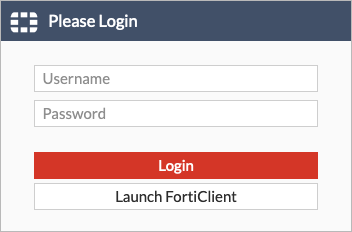
The main entrypoint for your firewall is https://127.0.0.1:10443/
- Access the primary URL from a browser, you should see the login screen:
- Type in the remote access (SSL VPN) credentials provided to you as part of the onboarding process, you should see a few web-portal options as well as connection statistics and a list of your previous connections:
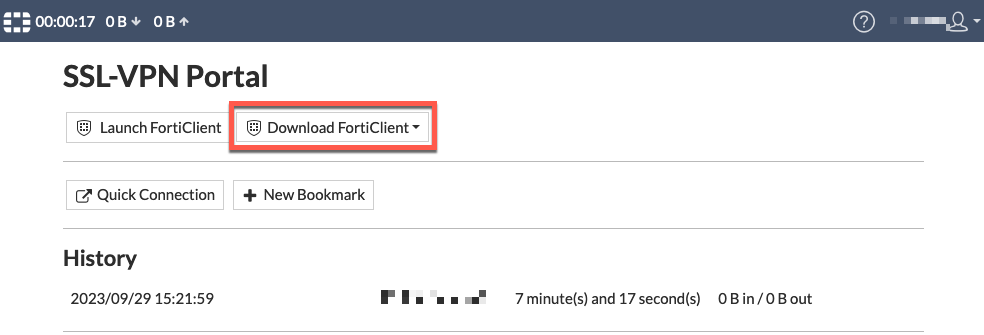
For a connection from a non-trusted computer or a computer that doesn’t allow third-party software installation, the web-portal provides an ability to establish a Quick Connection which supports the following protocols:
- HTTP/s
- FTP, SMB/CIFS, SFTP
- RDP, VNC
- SSH, Telnet, Ping
Depending on what is being accessed, sometimes these connections may fail to establish completely or partially in which case the client-based access is recommended.
- Click the Download FortiClient button, you should see the list of available platforms:
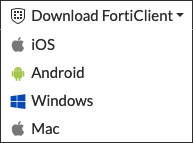
While none of the Linux distributions are listed FortiClient does support CLI-based installation on the following distros:
- Red Hat/CentOS
- Fedora
- Ubuntu/Debian
More information can be found on the official Fortinet’s support portal, for example here.
-
Install the downloaded client
-
Launch the client and select the Add a new connection option:
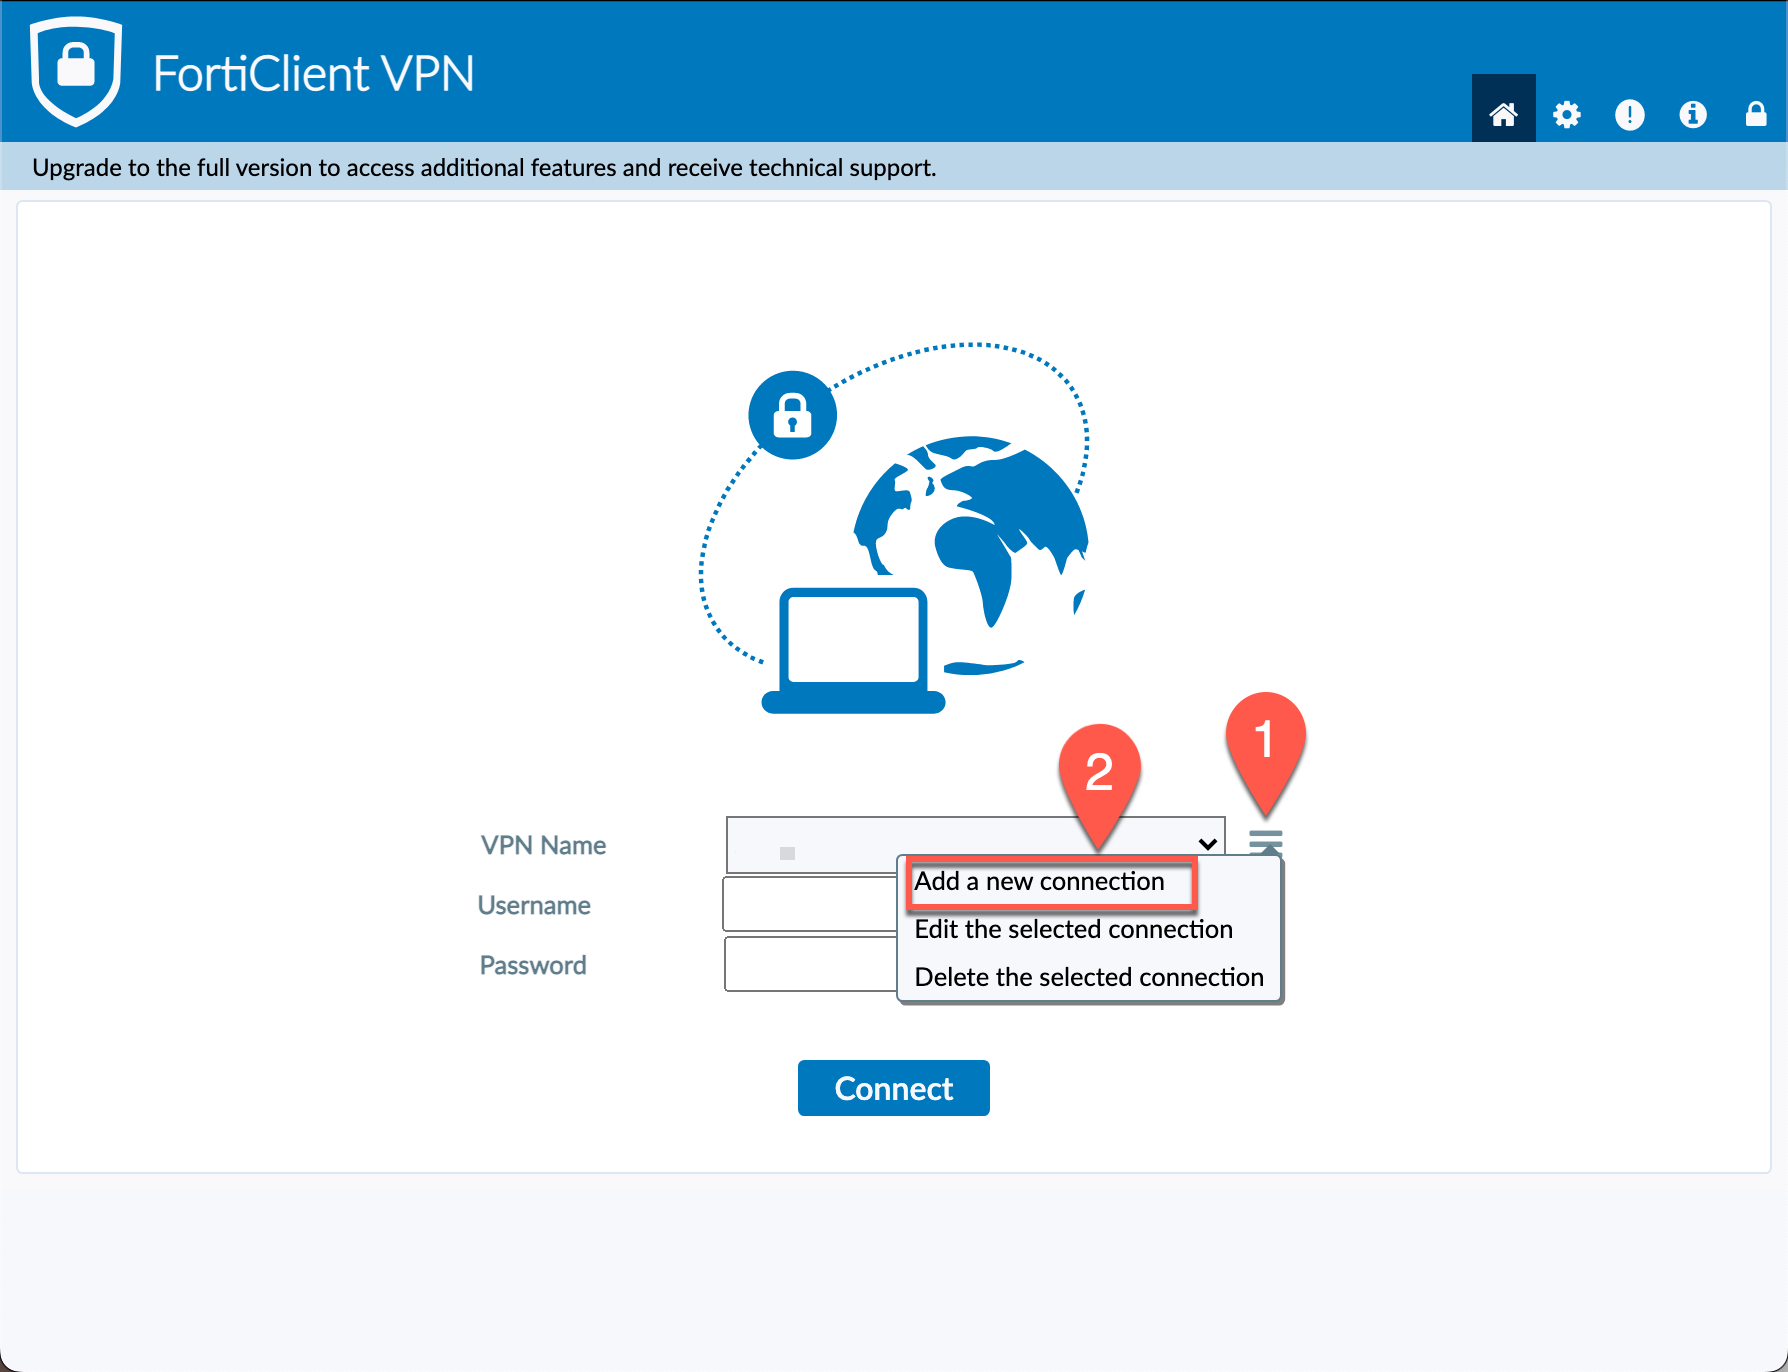
- Fill out the New Connection screen according to the provided information:
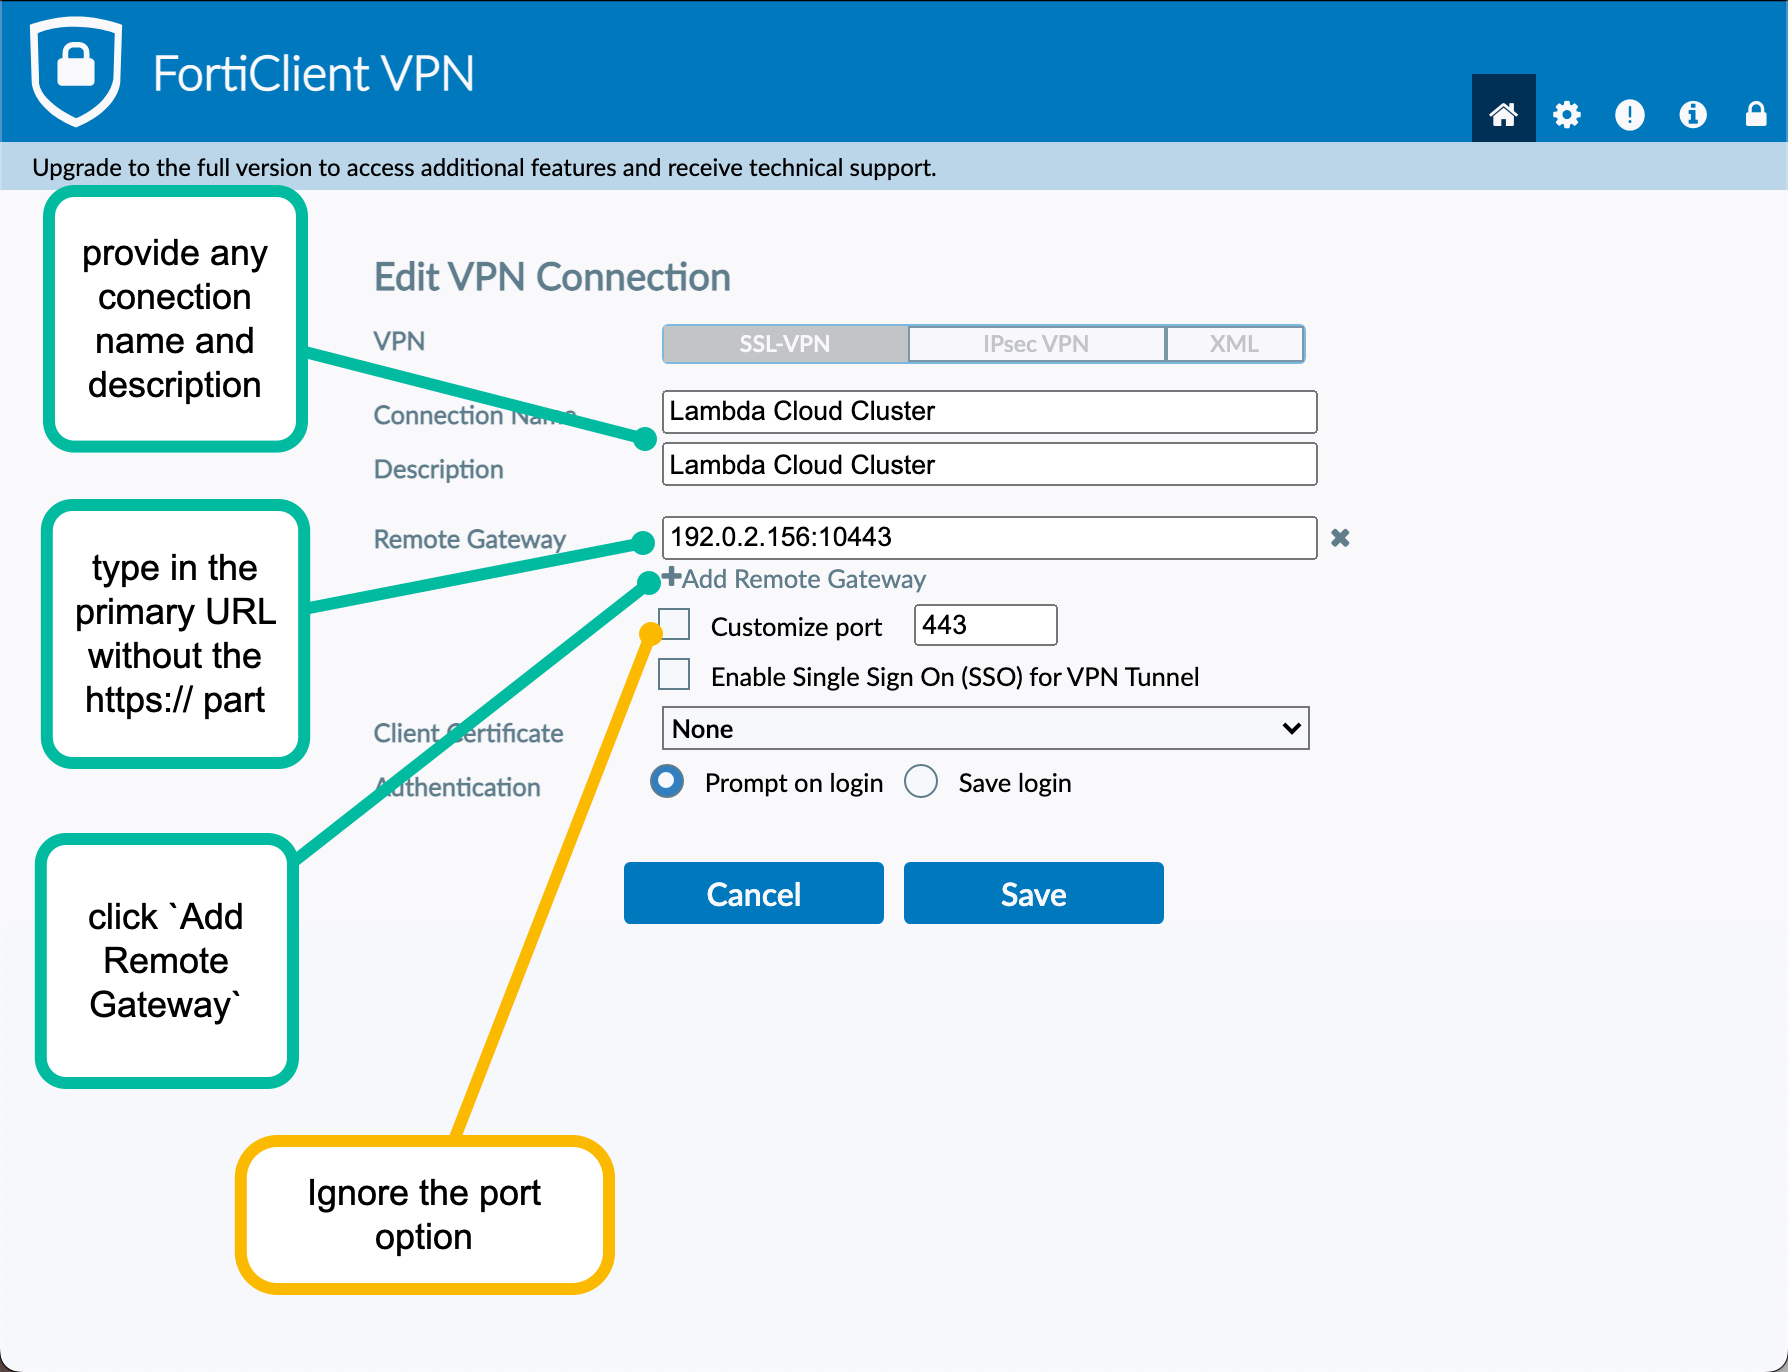
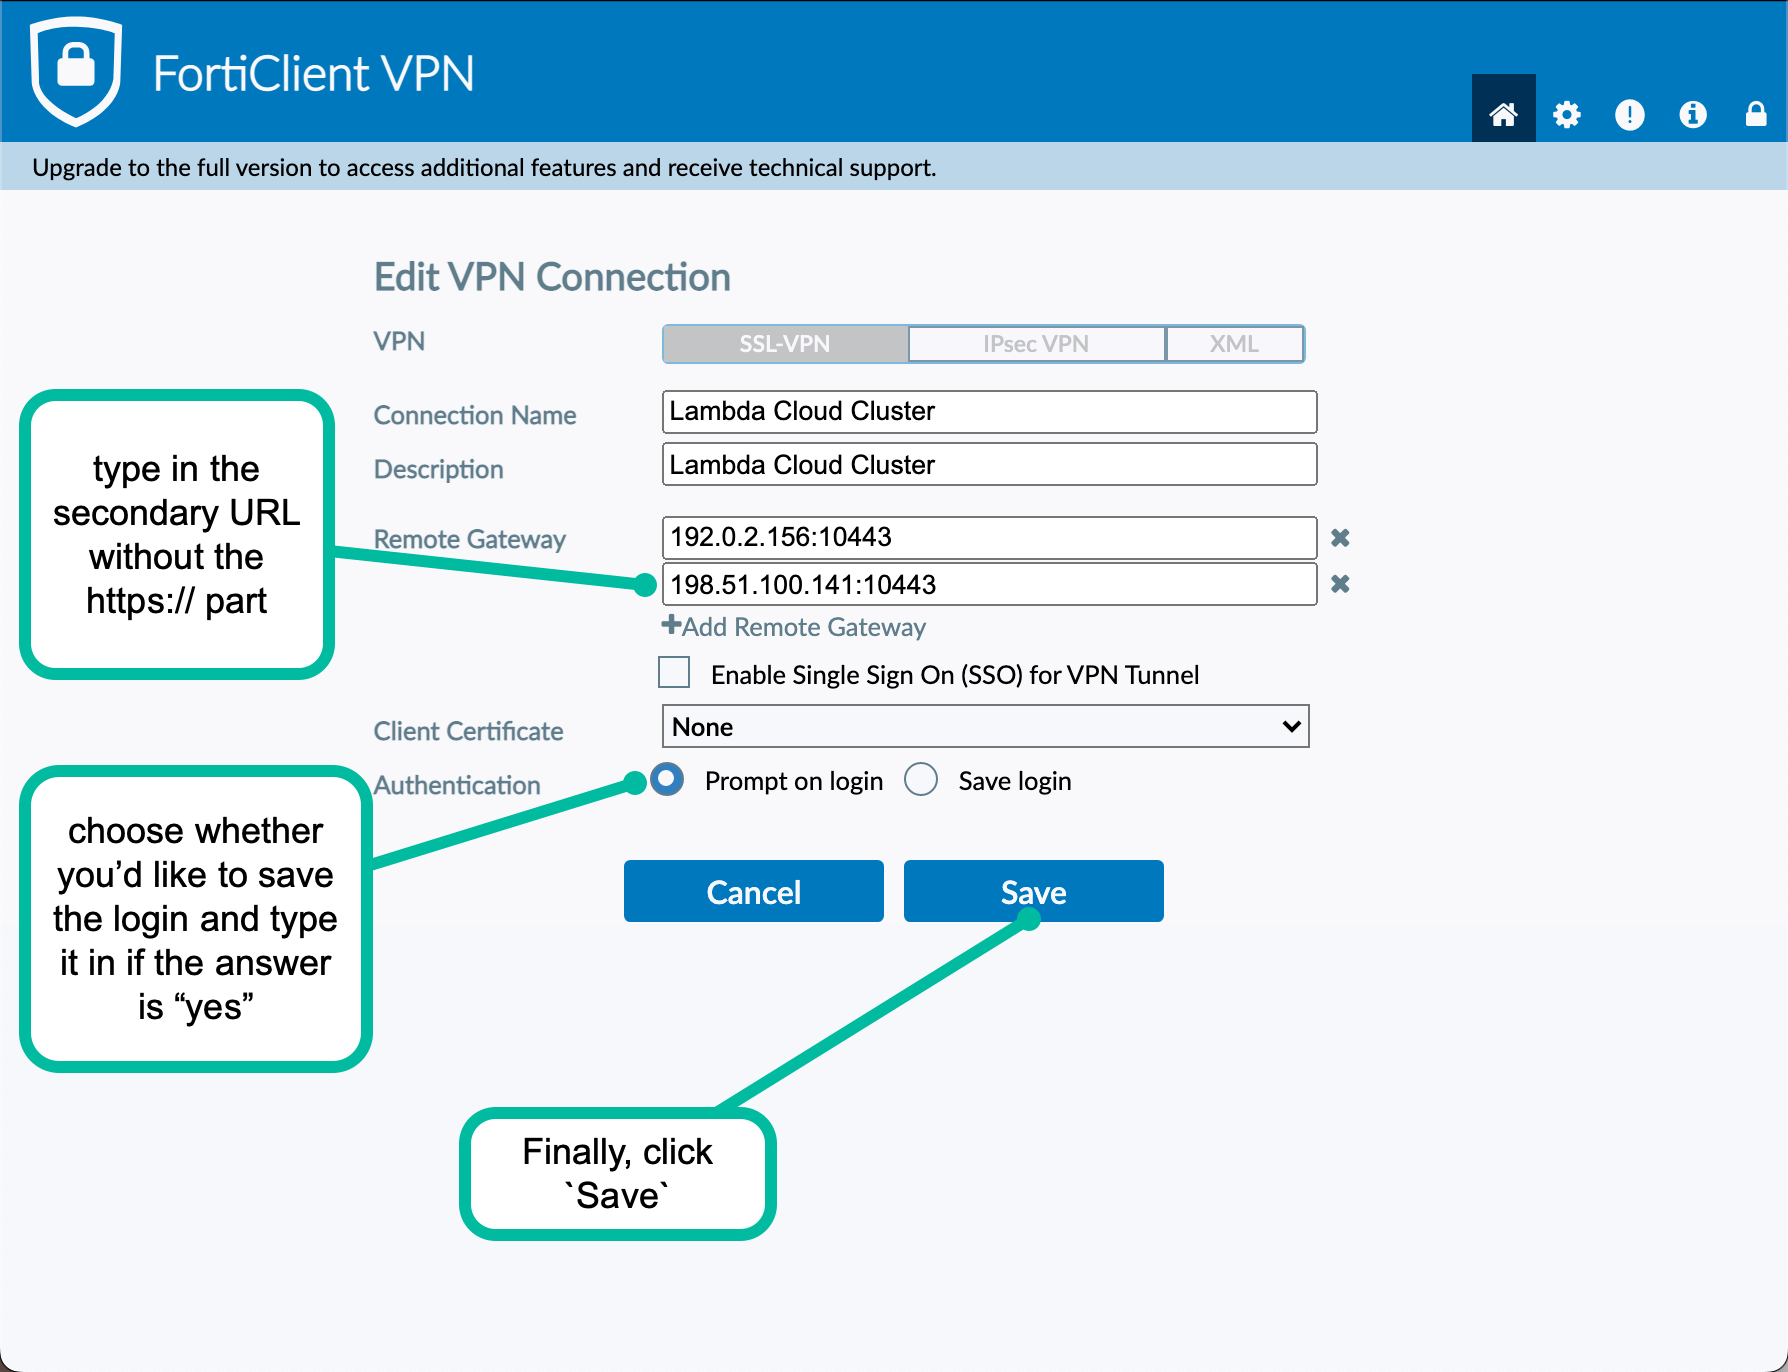
- Fill in the username and password and click Connect
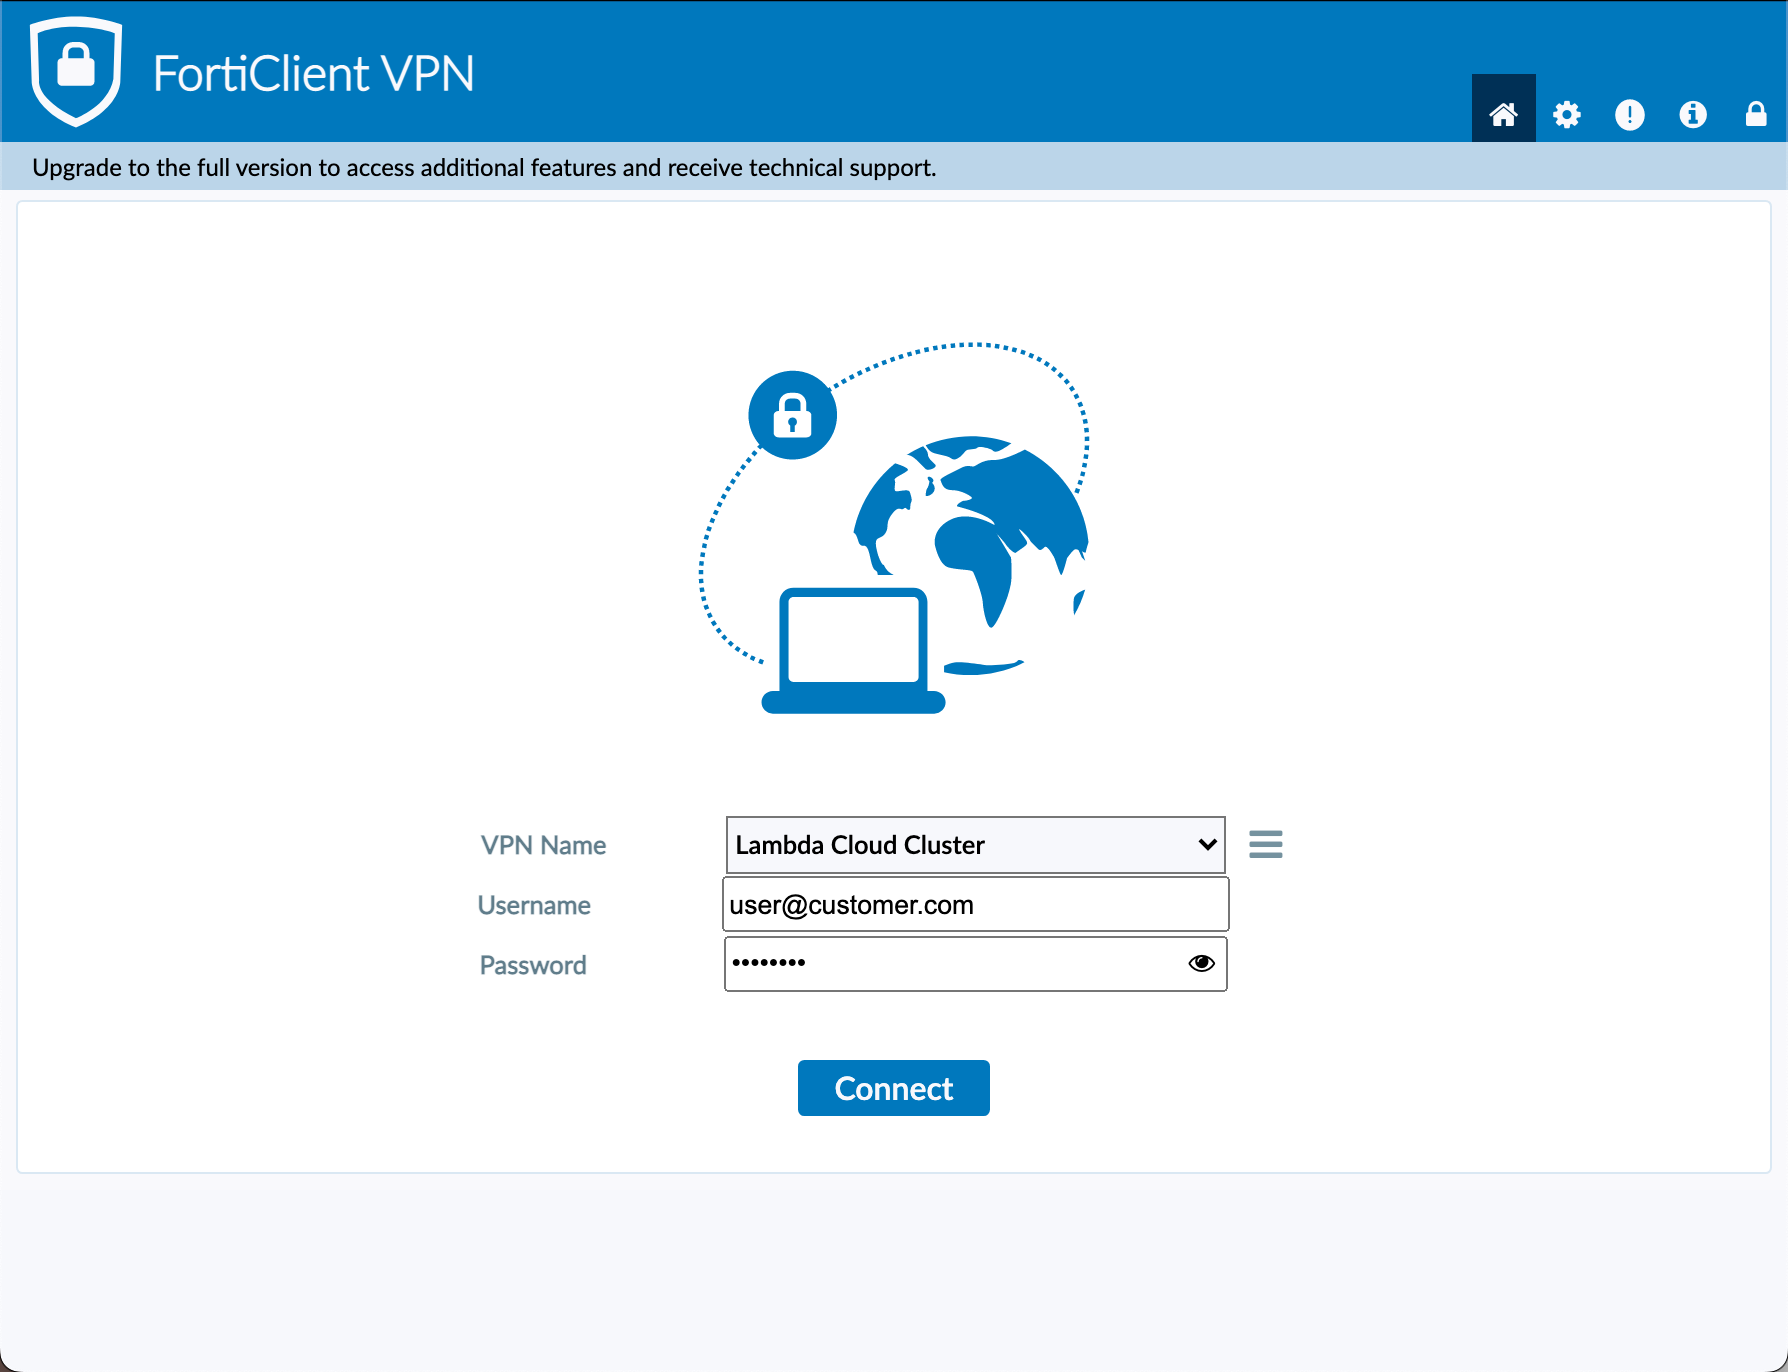
You now should have full access to the Cloud Cluster as if it was part of your local network.
- Navigate to your firewall’s management IP address.
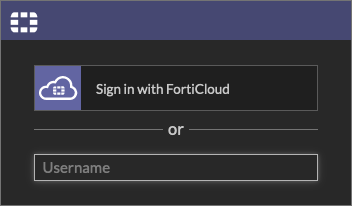
You must be connected to the network (using SSL VPN client for example).
- Sign in using credential provided as part of the onboarding package.
Admin credentials are typically different from the remote access credentials.
- Navigate to
User & Authentication > User Definitionpage:
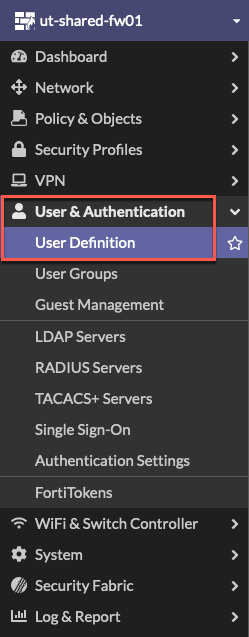
Your menu options might look different from the screenshot depending on what features are enabled on the firewall however the User section should always be there.
You should see a list of all local users in the firewall database:

-
Double click on a user entry in the list to navigate to the
Edit Userpage (or right click on a user and selectEdit) -
Change the User Account Status to Disabled as shown here:
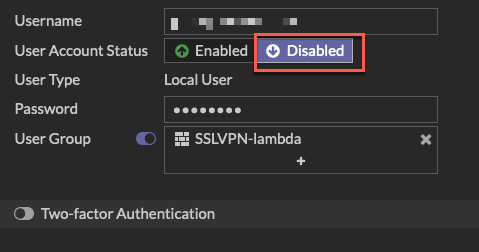
Make sure the user’s status changed to Disabled on the User Definition page:

-
Navigate to the
Edit Useras described above -
Change the password
-
Click
OK
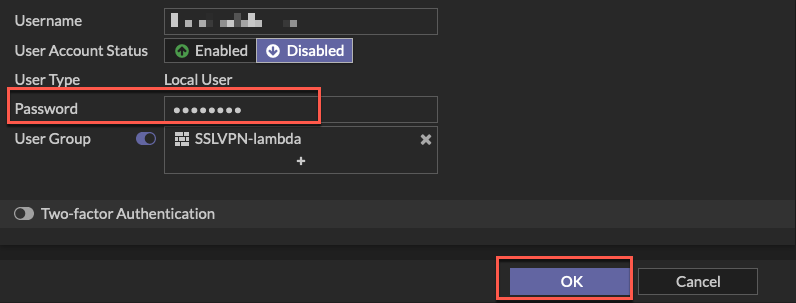
- Use one of the following options
- Highlight a user in the list and click
Deletein the actions panel at the top of the page

- Right click on a user and click select
Delete
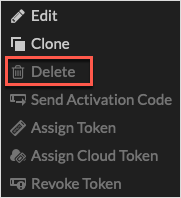
Your might notice that theDeleteoption is sometimes greyed out like on the screenshots above. FortiGates keep track of any object references and wouldn’t allow an object that is still referenced somewhere else in the configuration to be deleted. Fortunately, it also conveniently provides a list of all places where the object is still being used:

Clicking on the number, 1 in this case, opens a list of all objects referring to the specific user. For example, in this case it tells me that the user still belongs to a User Group and needs to be removed from it before it can be deleted:

- Click
Create Newin the actions panel at the top of the UserDefinitionpage:

- Follow the new user wizard:
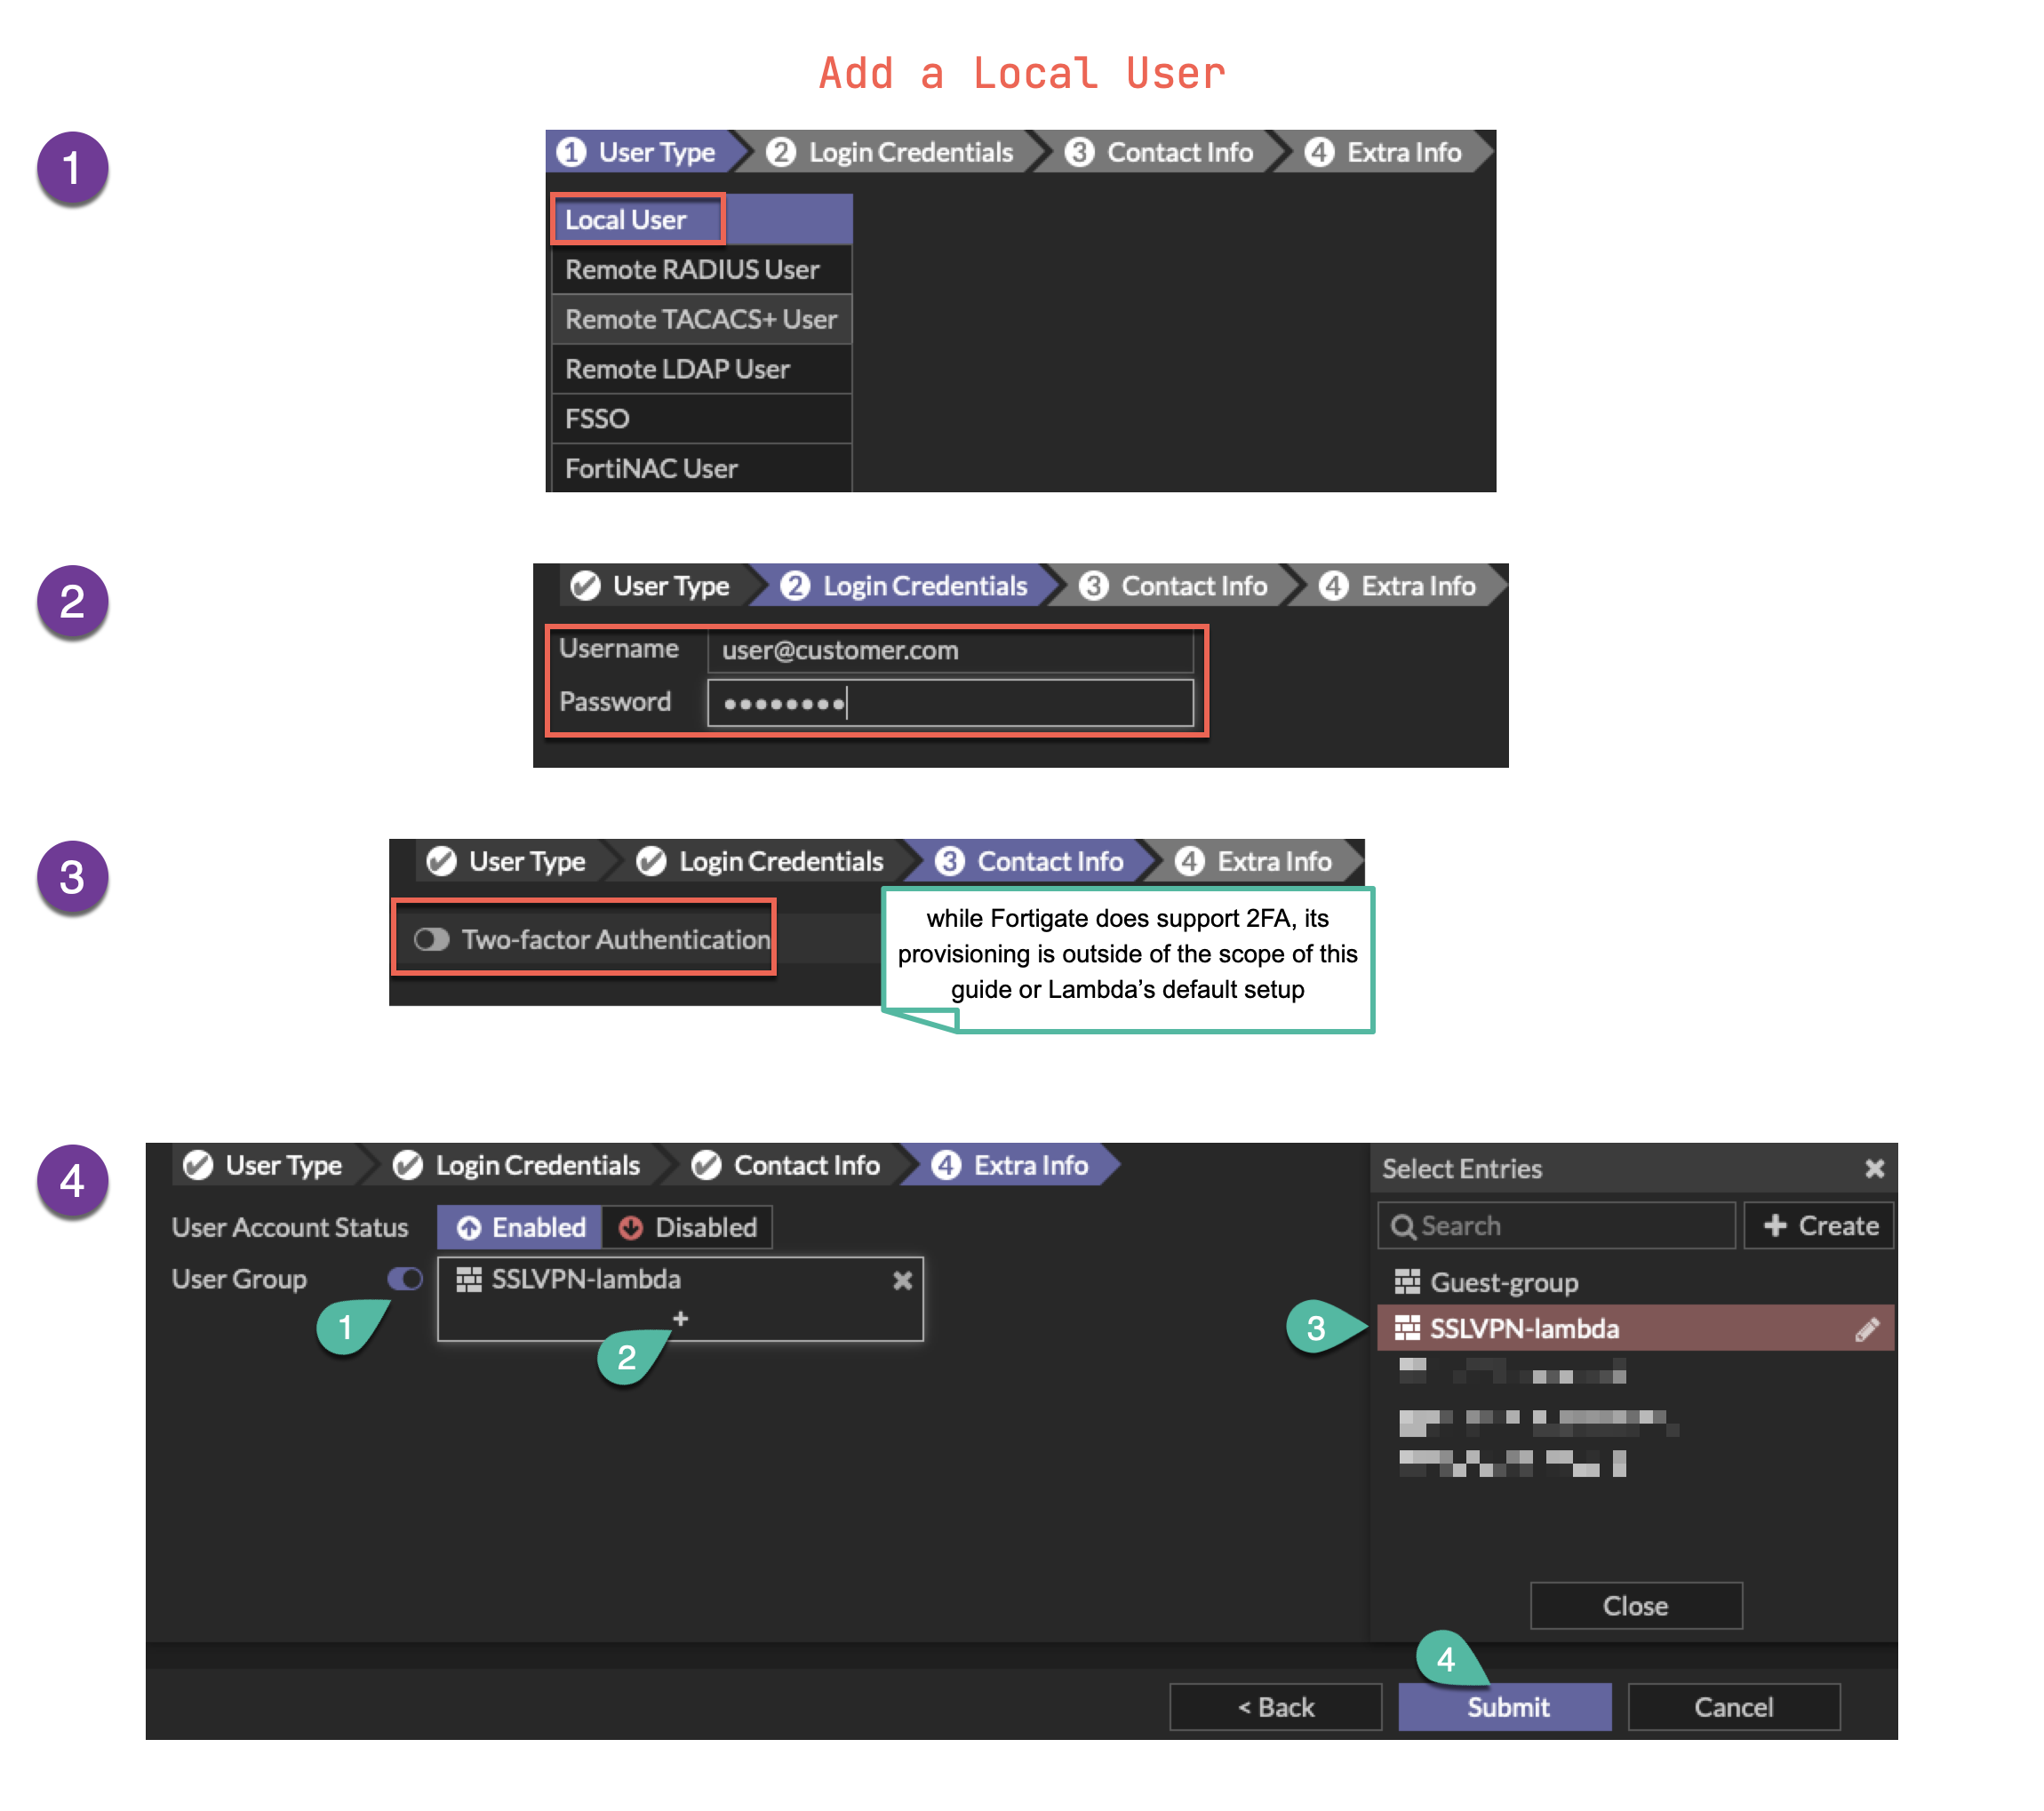
The firewall should be provisioned with at least one SSL VPN group (check the existing user’s setup to see the group’s name) that allows full access to the Cloud Cluster, however it is possible to add more groups with different access levels - this configuration is beyond the scope of this guide but more information can be found in Fortinet’s SSL VPN documentation referenced below in the Related Documentation section.